Showing posts with label modern bee. Show all posts

Sunday, 28 September 2014

Fiona's Block Swap


My original advert on Instagram


I suppose some of you have seen the hashtags on Instagram #FionasBlockSwap or #QuiltySistersInstabee and wondered what they were all about?  Well it all started back on the 8th of May when my dear friend Cassie posted a photo on her Instagram feed of a gorgeous blue Trellis Crossroads bee block that she had received from one of her fellow hive members.    
 
I was absolutely smitten with this design and went looking for a free tutorial so that I could use this pattern as my chosen block when it was my queenly rule for QCA Bee #5 in August.  I was soon to discover that this was in fact a licensed pattern designed by Jessica Kelly and to not breech copyright I would have to purchase the book "Modern Bee - 13 Quilts To Make With Friends".  I then realised that I would not be able to use this block for this Bee as we are only permitted to use free (non licensed) quilt block patterns.
 
I had commented on Cassie's photo how much I loved the design and a few mutual Instagram friends offered to make me a block or two.  I was totally blown away by their generous offers so I put my thinking cap on.  "What would be a fair way to do this?"  I was still a bit of a newbie at quilting and desperately wanted some more piecing experience, so I thought that a block swap would be a fair thing to do.  If anyone wanted to make me a Trellis Crossroads block, I would happily make them a block (or more) of their choice in exchange. I trotted down to my local Spotlight store and purchased a copy of the book and whipped up a test block in my chosen colours - scrappy lime green, scrappy grey & solid white.
 

My original test block


I duplicated a photo of my test block in InstaCollage app to check the overall design effect.
 
I posted a copy of the photo above on Instagram and pretty quickly the offers came flooding in.  I kept a list of everyone who responded.  There was no initial time frame of when I needed the blocks (I was in no hurry) but I was eager to find out what everyone wanted in exchange so that I could sort through my fabric stash and buy any necessary additions and get started making all the various blocks. 
 
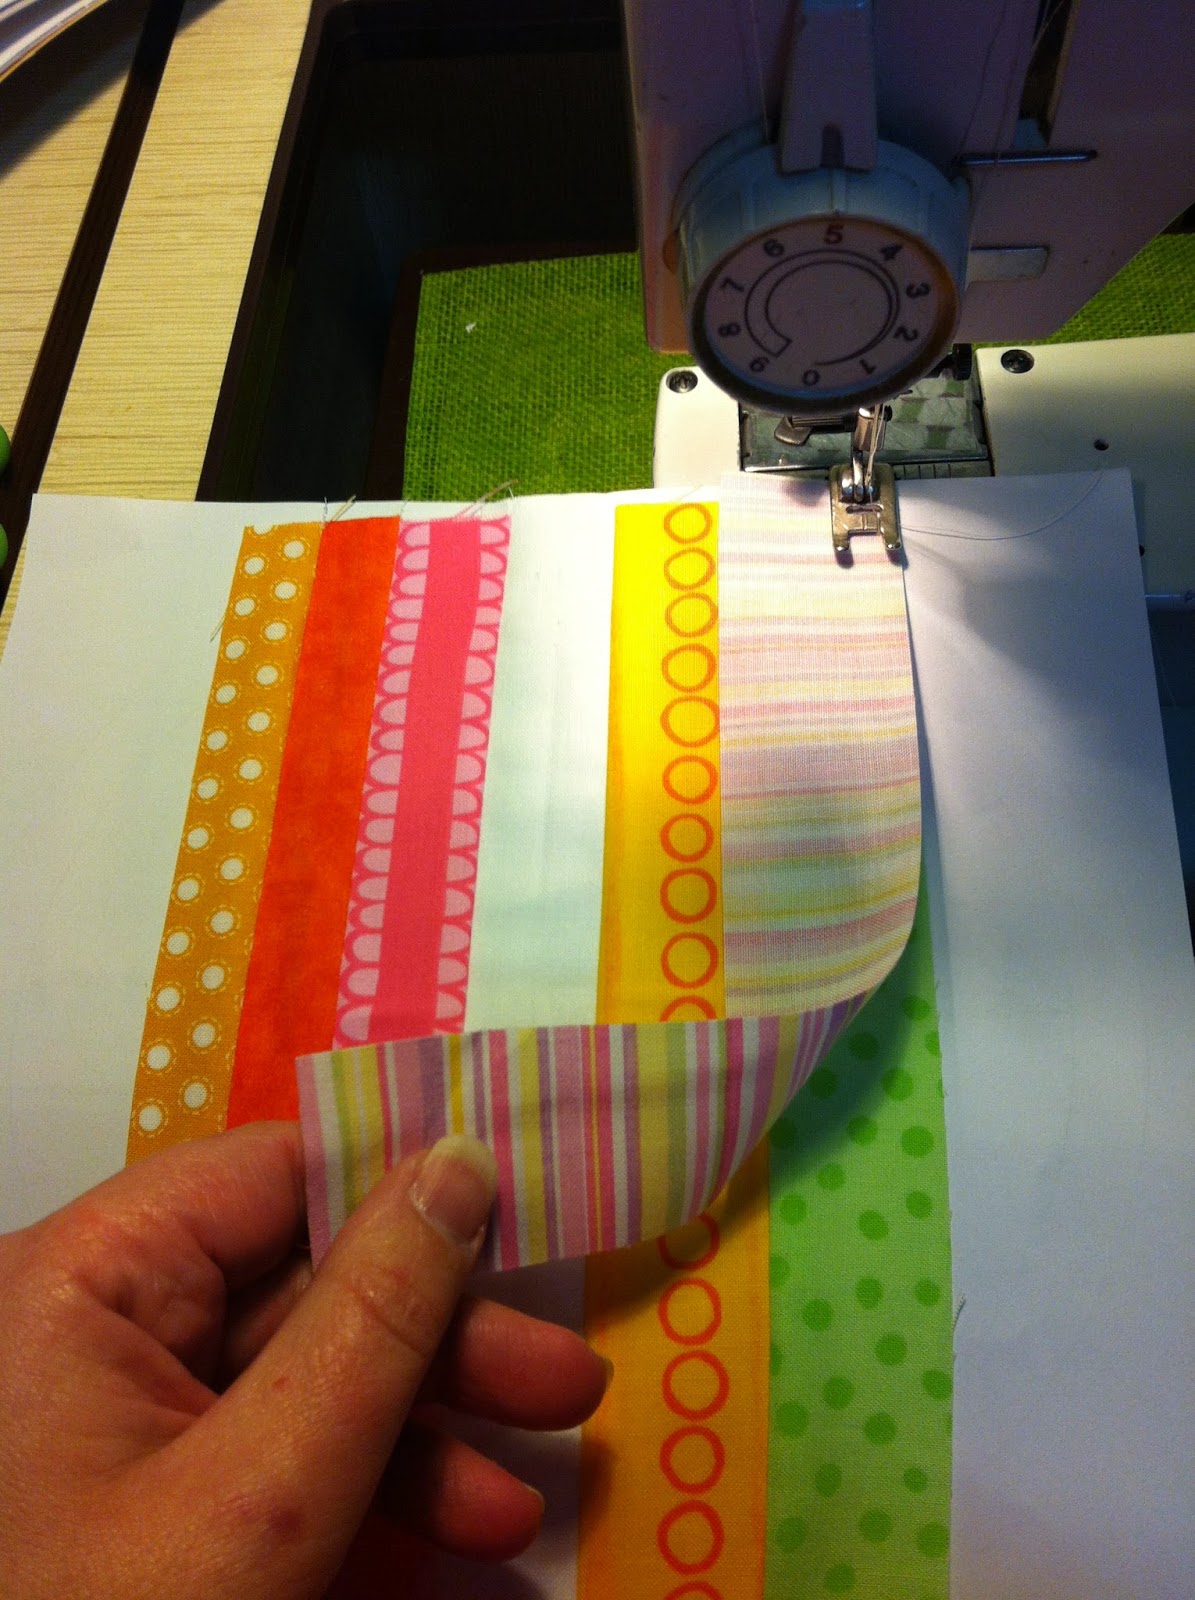
What fun I was to have over the next few months as I played with various designs that were new to me and colour schemes that I had never used before.  Here are some of the blocks that I made:
 
Cassie wanted some single coloured blocks for her Rainbow Trellis Crossroads quilt.  The orange one was a bit of a disaster so I made her an extra one in Red and also a Yellow block.  The lime & grey one is my test block.
 
Alison's Trellis Crossroads block - bright scrappy

Alison's 2nd Trellis Crossroads block - bright scrappy
 
Raquel's Stacked Windmills block in Grey & Radiant Orchid
 
Janine's Bluebell's Cabin block - bright scrappy

Janine's 2nd Bluebell's Cabin block - bright scrappy
 
Jo's Come Together block - Bright Happy Colours
 
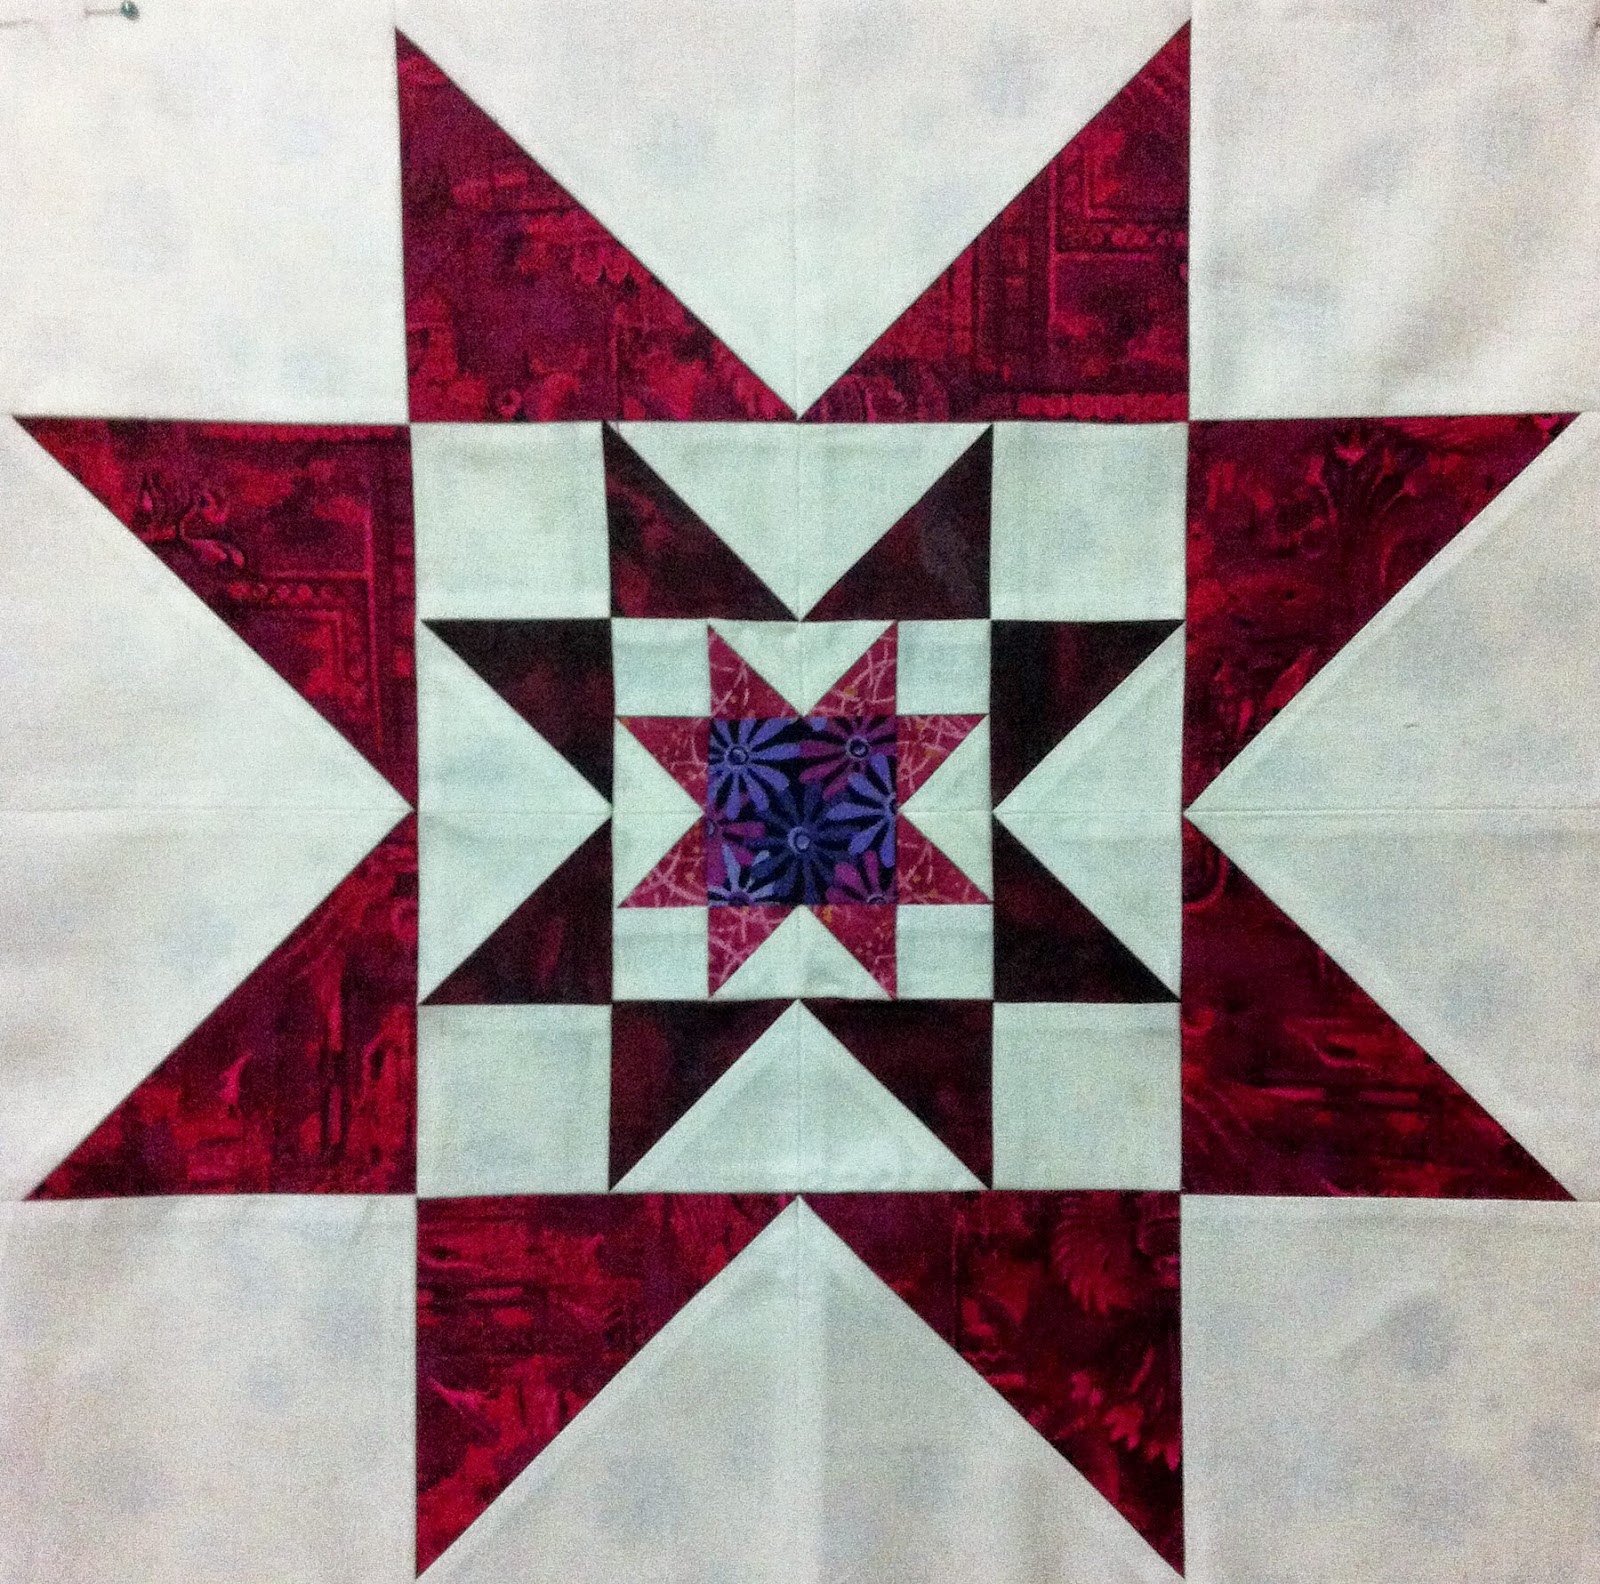
Julie's Triple Star in Raspberry & White

Julie's 2nd Triple Star in Raspberry & White

Lisa's Stacked Windmills Block with a medium pink middle row.  I dug out my Tilda for this one.

Lisa's 2nd Stacked Windmills Block with a medium pink middle row.  Lisa loves red & pink together so this one has more red in it.
 
I had never been on the receiving end of a quilting bee or swap before (as I was yet to experience my Queenly Rule in either of my Quilt Club Australia bees); so I was pretty surprised that instead of receiving just a card with my block/s, PARCELS started appearing in my letterbox!  Yes, parcels! And in these parcels were lots of lovely gifts of fabric, lovely assortments of beautifully home made  & shop bought items, chocolates, mini quilts, chocolates, Nutella, lollies, chocolates, oh and did I mention the chocolates!!  I was (and still am) so blown away (and full of chocolate)! YUM! YUM!
 
As I received the blocks from each of the girls I set about putting together a special parcel of love and thanks for each of them containing various items of love (and chocolate) together with their quilt block/s.  Acts 20:35 states "There is more happiness in giving than there is in receiving."  My heart overflowed with happiness as they each received their parcels and I read their messages! 
 
I cannot believe the friendships that I have made along this amazing journey and the beautiful craftpersonship that each person has demonstrated.  We all live in various areas of Australia (& Raquel is in America).  We may possibly never get a chance to meet in person but I feel such a connection with these gorgeous ladies! 
 
Along the journey I started to make many more quilting friends online and have since discovered a large network of fellow Jehovah's Witnesses who are quilters (some of whom were members of my original block swap).  As our network and friendships grew, Raquel decided that we should start up the #QuiltySistersInstabee  We are Sisters united by our faith, and our mutual love of Jehovah and of quilting.  We commenced our quilting bee in July 2014 and so far we have over 20 members.  Click here to see the blocks that I have made for the Quilty Sisters Instabee Group.
 
Originally I had expected that I would have to make more of the Trellis Crossroads blocks for my quilt myself, however I have decided to carry this block through to the #QuiltySistersInstabee group as we are using the "Modern Bee" book as a basis for our bee. So far I have received blocks from 5 Quilty Sisters members and another from a friend in my QCA bee #5 group.
 
Here is an updated photo of the blocks which I have received so far - 22 blocks as at the 26th of September 2014.  I anticipate that I should have a full quilt top (30 blocks are needed for a queen size quilt) in time for next winter & a very fancy quilt back made up of any extra blocks & the signature blocks.
 
The quilt so far hanging up on my design wall (26 September 2014)

There is also a signature panel representing each person who has contributed to this quilt.  I plan to turn these into blocks which will adorn the back of my quilt.  I am yet to decide on a design for these or for the back of the quilt.  


The signature panels ready to be made into blocks to adorn the back.
 
I am really looking forward to snuggling up in this quilt when it is finished and when I do it will feel like I am being hugged by many many very wonderful and special friends! 
 
Thank you to all of you - you know who you all are!


Saturday, 6 September 2014

Tutorial - String Circles Block

Kerry's String Circles block

The following tutorial has been written to assist my fellow Quilty Sisters in making their String Circles bee blocks.  This is an alternate option & is easier than what is in the book & you won't need to buy any fancy equipment.  All you need is 3 photocopies of the template page and a 90/14 sewing machine needle.

I have purposely NOT included measurements or the templates for this block as it is subject to copyright.  If you would like the pattern for this block, please purchase the book: "Modern Bee - 13 Quilts To Make With Friends" by Lindsay Conner.  It is an excellent book and the profits will go to those who are due them.

 
Yes it looks scary, but I urge to you to give it a try and I think you will amaze yourself!  Prior to making this block I had never sewn a circle before.  I do paper piece but not the method shown in this book.  I am self taught with one of Carol Doak's books & tutorials.  It seems to make more sense in my brain than other methods I have seen.  If you are more comfortable using a different method of paper piecing by all means go for it.  There are no quilt police!
 
These photos were originally posted on Instagram with the hash tag #KerrysCirclesOfDoom - I have reposted them here to make life easier.
 
 
Setting Up: I have photocopied the template from the book and sticky taped it together using magic tape to form a circle.  Use a size 90/14 needle in your sewing machine & set your stitch length to 1.5 - this will make it easy to remove the paper at the end without ripping apart your stitches.  Normally I would use an open toe foot for paper piecing however this is so simple that your regular 1/4" foot should work fine.  By the way I have the photocopy paper around the wrong way in this photo - you want to join the strips to THE BACK of the paper and not the front. See next photo...

Block Assembly: Forget the glue stick the book talks about.  Instead lightly finger press the white strip down the centre & align the fold mark with the centre of the white circle.  Pin it in place.  Place coloured strip FACE DOWN & join as per instructions in book.  IMPORTANT: The printed side of the paper is face down with the fabric strips being sewn on to the back of the paper.  Also make sure that your strips of fabric are long enough & wide enough to cover over the outer circle on the template once they are sewn together, otherwise you will need to redo this with wider/longer strips.

This is the easy bit - lay fabrics face down upon the previous piece, aligning the right hand sides.  Sew them together on top of the paper using 1/4" seam.  Fold over each piece after it is sewn and press the seam straight & flat before joining the next piece.  {Worse case scenario, if you cannot manage this, just sew your strips together & use the circle as a pattern to cut them out.  Personally I found the paper helped to stabilise the circle as I sewed it but I have since sewn another circle without the paper & found it ok}.  It doesn't really matter which method you use as long as your seams are straight & the end result looks fab!

Cut out the pieced bit along the outer circle of the template.


I don't have one of those fancy cutting circle thingies that is shown in the book & I wasn't going to rush out to buy one so I just folded the white backing fabric into quarters; folded the template in half & pinned it to the fabric making sure that my folds & edges were properly aligned.


Cut out white circle from the background fabric along the smaller circle line. This photo depicts the three pieces that you should now have.  You will not be using the inner white circle. 


Joining the two sections: Now you are ready to pin the white background to the coloured circle.  You will need LOTS of pins.  The easiest way to explain how to pin is by imagining the coloured circle is a clock face.  Place pins opposite each other as follows: pin 12 o'clock then 6 o'clock; pin 3 o'clock then 9 o'clock; pin 1 o'clock then 7 o'clock; pin 4 o'clock then 10 o'clock; pin 2 o'clock then 8 o'clock; pin 5 o'clock then 11 o'clock; and then fill in any gaps with more pins. 


Very very carefully sew 1/4" around the 2 layers of fabric, removing the pins as you go & smoothing out the fabric.  Make sure the two layers of fabric are even as you sew. As the paper is still attached to the bright circle, you are still using a 90/14 needle & a 1.5 stitch length.  Anything different could make removing the paper difficult and you could rip out your stitches when you remove the paper


Here's a tip - I often use my unpicker to hold the fabric flat in front of the needle as I sew. It's better than sewing over your finger & you can get in nice & close.  Using one hand to hold the fabric at the back will give you more control.  And sew SLOWLY!!  Snail pace.  It is not a race and will help you smooth out the fabric as you sew.  You may have doubts & think that you will have excess fabric left over but you won't.  It is just an optical illusion.  As long as you have cut the two pieces on the correct template and pin well & smooth out your fabric it will match up beautifully!!!  Oh & don't forget to breathe! ;0)


This is how it SHOULD look after you have sewed the inner circle to the background fabric.  Now you can remove the paper.  Gently tug it and rip it off.  As long as you used a small stitch length of 1.5 & a size 90/14 needle the paper should be easy to remove by hand.  If any paper is caught in the stitches just use tweezers to remove it.  You might wonder why I keep harping on about this stitch length & needle size.  The wider needle will punch a larger hole through the paper making it easier to tear.  The smaller stitches will create a stronger stitch that won't rip away when the paper is removed and it will also help to perforate the paper making it easier to remove.


This is how the top layer should look before it is ironed. Iron from the back and gently flatten out the join before flipping it over and ironing the front. 

And there we have one completed "citrus" circle of doom.  Mine has a few wrinkles around the join but Julie says that using starch will hide this. The brand she recommends is "Best Press" but it is not the cheapest on the market and is usually sold in quilt shops.  But she says that any starch will do.
 
Kerry also sent a link to a tutorial that she found on Pinterest and hoped that it would offer extra help for the circles:


Monday, 1 September 2014

Tutorial - Baseball Curves Block


The following tutorial has been written to assist my fellow Quilty Sisters in making their Baseball Curves bee blocks. 

I have purposely NOT included measurements or the templates for this block as it is subject to copyright.  If you would like the pattern for this block, please purchase the book: "Modern Bee - 13 Quilts To Make With Friends" by Lindsay Conner.  It is an excellent book and the profits will go to those who are due them.

 
Yes it looks scary, but no it really isn't THAT bad!! I actually found this to be a rather quick & easy block to make (despite stopping every few minutes to document the process).  And yes, this was my first attempt.  If you have ever made toys, clothes or sewn curves, I don't think you should have any real dramas with this block. 

IMPORTANT!  DO NOT cut out your (A) piece (the one that looks like a bow tie) with the grain line!!!  IGNORE the arrow symbol in the book and ignore the grain line.  If the inner dressmaker in you follows the symbol you will end up having issues when up join the pieces together.  Also when you cut your low volume pieces, add about 1/2" to 1" extra length to each side.
 
 Cut out your templates.  Template A is only shown as half so fold your fabric in half and make sure the fold is down at the correct end of the fabric.  Pin the template to fabric.  (TIP) where the template says "Half of pattern" I folded this edge of the template and tucked the fold under the folded over fabric to stop it from moving and then pinned it in place. 
 Carefully cut ON the cutting line (which is the darker line of the template.  The dashed line represents the 1/4" sewing line). I used a ruler & rotary cutter on the straight sides & just the rotary cutter on the curves but if you are more confident to use scissors go for it.  If in doubt then trim a millimetre outside the cutting line. 


This is how your centre piece (A) should look once it is cut out.


OK, since I am so blonde I didn't realise that B comes after A, I chose to cut out the (C) pieces next ;0)
 
You will need 2 pieces so again I folded over the fabric and cut both pieces at once. I pinned the template to the fabric & used my ruler and rotary cutter to cut the straight edges and carefully cut the curves on the solid line using either rotary cutter or scissors.


We now have 2 (C) pieces cut out. YAY


Now cut out 2 pieces from template (B).  Again I folded over the fabric, pinned the template and cut both pieces at the same time.  Congratulations, you are now an expert pinner & cutter outer of templates WOOHOO ;0)


And here they are. 
Easy peasy.
 
The 5 cut out pieces should look like this >>>>


Now the fun begins. It's time to sew the pieces together! 


Start with (A) and a (B). 
Fold (A) in half and finger press the centre line. 
Do the same with (B). 


With (A) on top, match up the folded lines and pin together.  Make sure the edges are properly aligned.  Follow the curve and pin the two pieces together flattening & gently stretching the fabrics as you go.  As we have cut a curve into the fabric the fabric will be a bit stretchy.  Do not pull it too tight, just be gentle and use LOTS of pins. This is how it should look once it is pinned. (TIP) I spaced my pins out every 1/4" to 1/2".


Now for the scary part (queue music...) it's time to sew.  Use your 1/4" foot, sew slowly, & don't forget to breathe.  Make sure edges are properly aligned as you slowly stitch around the curve.  Use your finger to carefully guide the fabric through the machine along the curve making sure to flatten out any wrinkles or bumps and remove pins as you come to them.  You might need to gently manoeuvre (or gently stretch) the fabric as you go. The book recommends to position one hand near the presser foot & one between the fabric layers being sewn together for extra control.


How did you go?  Breathing again?  On page 94 the book shows how they have clipped the curves to help the fabric sit flat.  My mum was a dress maker before she retired & I was given her pinking sheers so I have used these on ALL OF MY CURVES.  Clip or snip close to the stitching line but be careful not to snip through your stitches otherwise you will need to re sew it.


When making something like this I prefer to press as I go.  That way I can identify any issues and tackle them head on.  For curves I prefer to gently press along the sewing line and then do as Darth Vader suggests and "Press towards the Dark Side!"


This is how it should look.  It should sit completely flat.  If it doesn't, check that you have followed all instructions properly so far. 

(TIP) If I have a stubborn seem that refuses to lie flat I often spray it with some water from a spray bottle and then press it with a hot dry iron until it yields.


We now want to sew a (C) to our (AB).  Finger press a centre line in your (C) and your (AB) piece.  Match up the folded centre lines and pin together.  Continue to pin the two pieces together just like you did before.

This is how it should look when pinned. >>>


Sew the (C) and the (AB) together just like you previously sewed the (A) and the (B) together.  Clip/snip along your curve and press towards the dark side with a hot dry iron (using a water spray if needed).

I have shown a back and a front view of how it should look once pressed.  It should lie completely flat once pressed.


Once you are happy with your joined (ABC) it is time to join the second (B). 
Finger press the centres.
Match up centre points & pin together.
Sew.
Clip/Snip. 
Press. 
Breathe. 
Rejoice.


Next find your centre points of your (ABBC) and the second (C).
Finger press the centres.
Match up centre points & pin together.
Sew.
Clip/Snip.
Press.
Breathe.
Wahoo out loud because you're nearly done!


Check for flatness as you go.  If you find that your block starts to stick up a bit, iron it from the centre of the block pressing slowly out to each side and manoeuvre the fabric gently with your hands as you go.  Remember the fabric will have some stretch to it so be gentle and if it refuses to yield, spray that rebel with water and press it flat.  Show it who's the boss!  YOU ARE!
 
Guess what.  You're finished! 
It should now look something like this:
 
 
Now that wasn't so hard after all was it?
 
Don't forget that Jo has asked us NOT TO TRIM our blocks as she wants to do that herself to make sure that all the curves line up.

A special thanks to Kelly and Julie for your feedback and experimentation.  Sharing the problems that you experienced with this block has helped us to work out ways to help others when they go to make their blocks.  Much Liberty fabric was sacrificed in the name of research trying to sort out the grain line issues.