Sunday 28 September 2014

Fiona's Block Swap


My original advert on Instagram


I suppose some of you have seen the hashtags on Instagram #FionasBlockSwap or #QuiltySistersInstabee and wondered what they were all about?  Well it all started back on the 8th of May when my dear friend Cassie posted a photo on her Instagram feed of a gorgeous blue Trellis Crossroads bee block that she had received from one of her fellow hive members.    
 
I was absolutely smitten with this design and went looking for a free tutorial so that I could use this pattern as my chosen block when it was my queenly rule for QCA Bee #5 in August.  I was soon to discover that this was in fact a licensed pattern designed by Jessica Kelly and to not breech copyright I would have to purchase the book "Modern Bee - 13 Quilts To Make With Friends".  I then realised that I would not be able to use this block for this Bee as we are only permitted to use free (non licensed) quilt block patterns.
 
I had commented on Cassie's photo how much I loved the design and a few mutual Instagram friends offered to make me a block or two.  I was totally blown away by their generous offers so I put my thinking cap on.  "What would be a fair way to do this?"  I was still a bit of a newbie at quilting and desperately wanted some more piecing experience, so I thought that a block swap would be a fair thing to do.  If anyone wanted to make me a Trellis Crossroads block, I would happily make them a block (or more) of their choice in exchange. I trotted down to my local Spotlight store and purchased a copy of the book and whipped up a test block in my chosen colours - scrappy lime green, scrappy grey & solid white.
 

My original test block


I duplicated a photo of my test block in InstaCollage app to check the overall design effect.
 
I posted a copy of the photo above on Instagram and pretty quickly the offers came flooding in.  I kept a list of everyone who responded.  There was no initial time frame of when I needed the blocks (I was in no hurry) but I was eager to find out what everyone wanted in exchange so that I could sort through my fabric stash and buy any necessary additions and get started making all the various blocks. 
 
What fun I was to have over the next few months as I played with various designs that were new to me and colour schemes that I had never used before.  Here are some of the blocks that I made:
 
Cassie wanted some single coloured blocks for her Rainbow Trellis Crossroads quilt.  The orange one was a bit of a disaster so I made her an extra one in Red and also a Yellow block.  The lime & grey one is my test block.
 
Alison's Trellis Crossroads block - bright scrappy

Alison's 2nd Trellis Crossroads block - bright scrappy
 
Raquel's Stacked Windmills block in Grey & Radiant Orchid
 
Janine's Bluebell's Cabin block - bright scrappy

Janine's 2nd Bluebell's Cabin block - bright scrappy
 
Jo's Come Together block - Bright Happy Colours
 
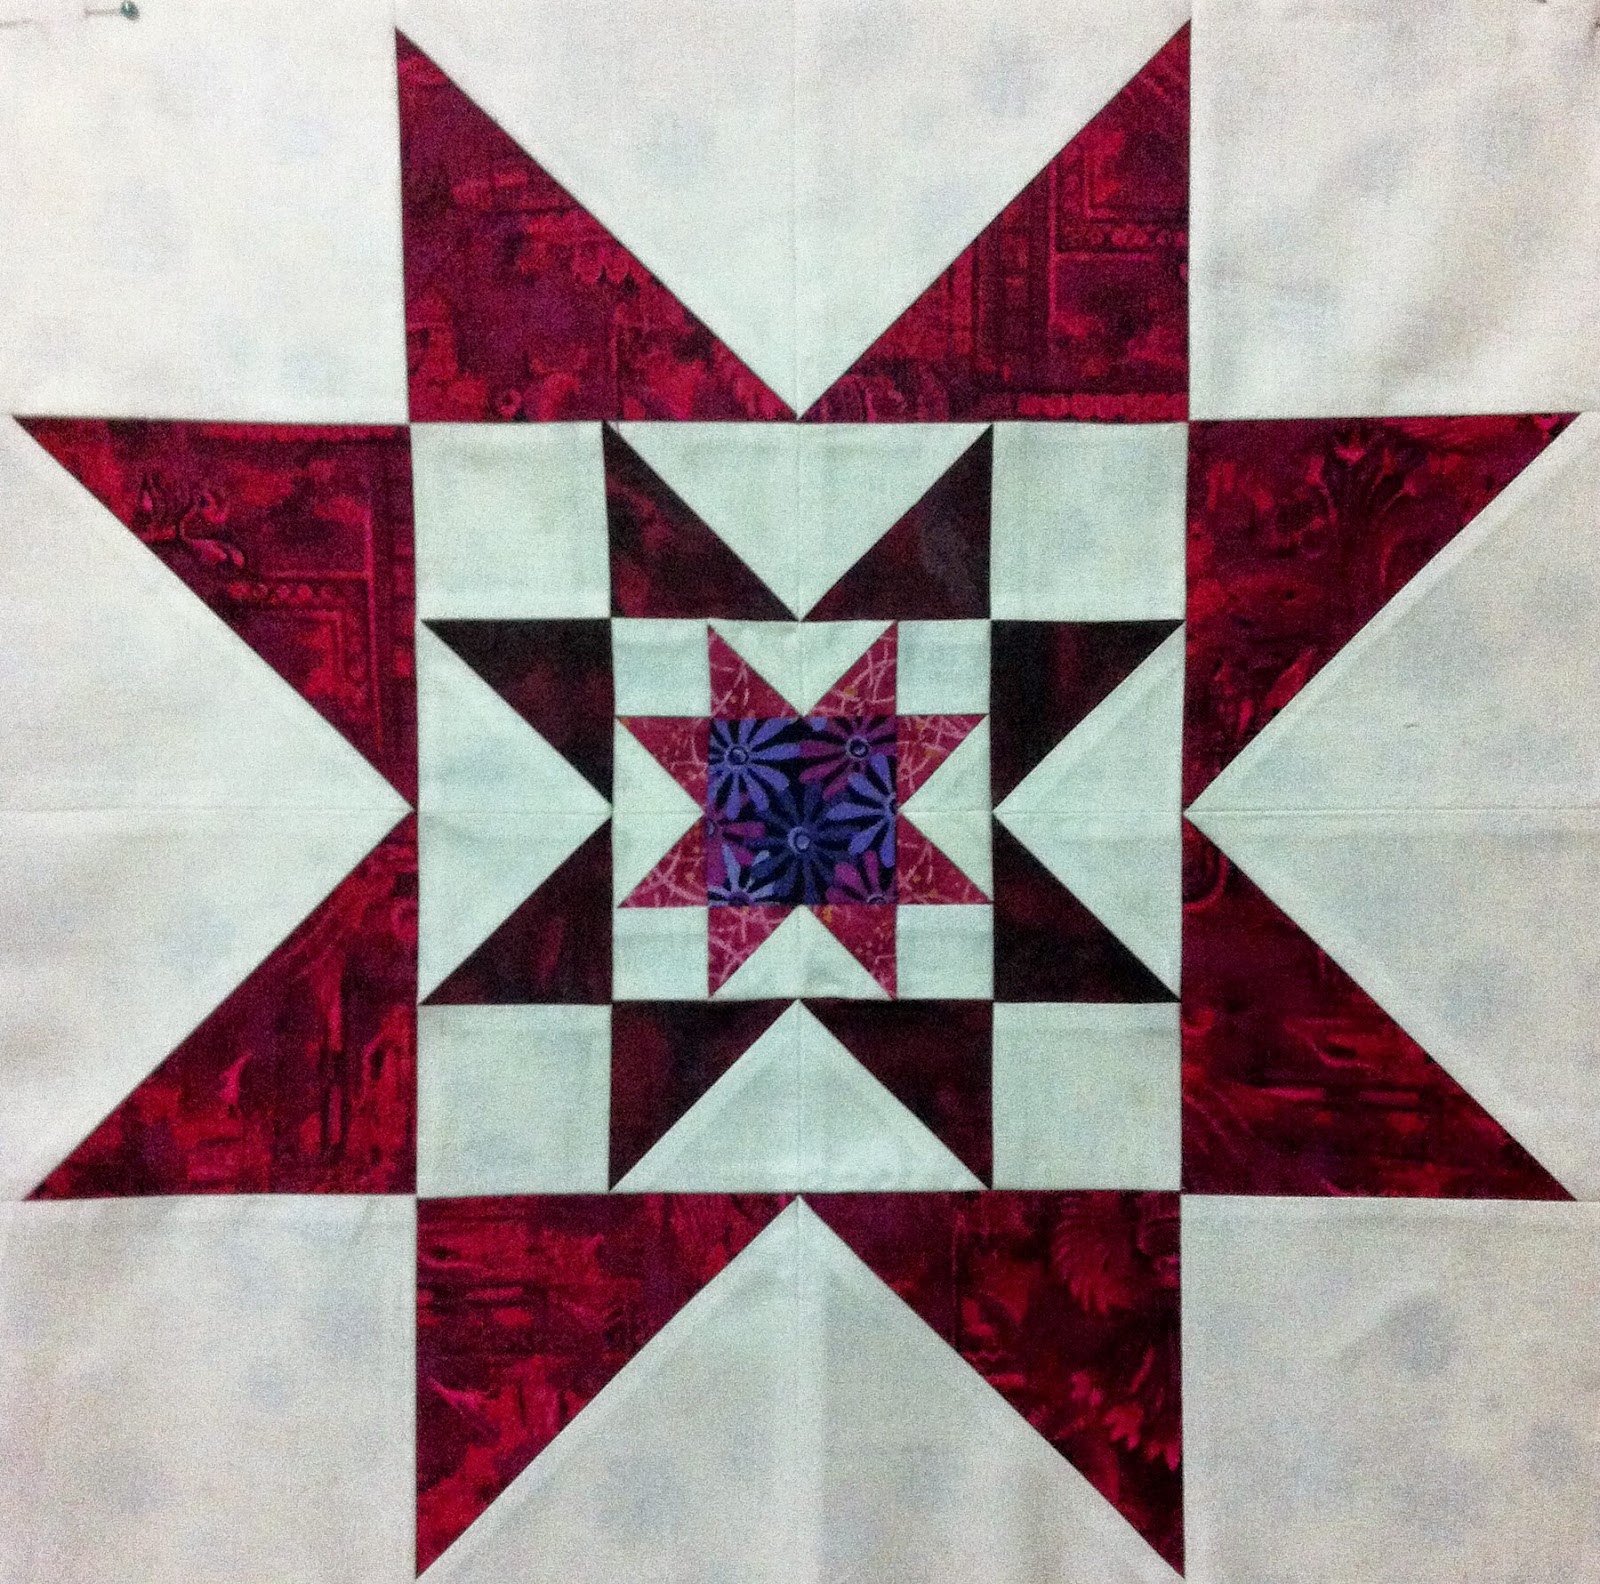
Julie's Triple Star in Raspberry & White

Julie's 2nd Triple Star in Raspberry & White

Lisa's Stacked Windmills Block with a medium pink middle row.  I dug out my Tilda for this one.

Lisa's 2nd Stacked Windmills Block with a medium pink middle row.  Lisa loves red & pink together so this one has more red in it.
 
I had never been on the receiving end of a quilting bee or swap before (as I was yet to experience my Queenly Rule in either of my Quilt Club Australia bees); so I was pretty surprised that instead of receiving just a card with my block/s, PARCELS started appearing in my letterbox!  Yes, parcels! And in these parcels were lots of lovely gifts of fabric, lovely assortments of beautifully home made  & shop bought items, chocolates, mini quilts, chocolates, Nutella, lollies, chocolates, oh and did I mention the chocolates!!  I was (and still am) so blown away (and full of chocolate)! YUM! YUM!
 
As I received the blocks from each of the girls I set about putting together a special parcel of love and thanks for each of them containing various items of love (and chocolate) together with their quilt block/s.  Acts 20:35 states "There is more happiness in giving than there is in receiving."  My heart overflowed with happiness as they each received their parcels and I read their messages! 
 
I cannot believe the friendships that I have made along this amazing journey and the beautiful craftpersonship that each person has demonstrated.  We all live in various areas of Australia (& Raquel is in America).  We may possibly never get a chance to meet in person but I feel such a connection with these gorgeous ladies! 
 
Along the journey I started to make many more quilting friends online and have since discovered a large network of fellow Jehovah's Witnesses who are quilters (some of whom were members of my original block swap).  As our network and friendships grew, Raquel decided that we should start up the #QuiltySistersInstabee  We are Sisters united by our faith, and our mutual love of Jehovah and of quilting.  We commenced our quilting bee in July 2014 and so far we have over 20 members.  Click here to see the blocks that I have made for the Quilty Sisters Instabee Group.
 
Originally I had expected that I would have to make more of the Trellis Crossroads blocks for my quilt myself, however I have decided to carry this block through to the #QuiltySistersInstabee group as we are using the "Modern Bee" book as a basis for our bee. So far I have received blocks from 5 Quilty Sisters members and another from a friend in my QCA bee #5 group.
 
Here is an updated photo of the blocks which I have received so far - 22 blocks as at the 26th of September 2014.  I anticipate that I should have a full quilt top (30 blocks are needed for a queen size quilt) in time for next winter & a very fancy quilt back made up of any extra blocks & the signature blocks.
 
The quilt so far hanging up on my design wall (26 September 2014)

There is also a signature panel representing each person who has contributed to this quilt.  I plan to turn these into blocks which will adorn the back of my quilt.  I am yet to decide on a design for these or for the back of the quilt.  


The signature panels ready to be made into blocks to adorn the back.
 
I am really looking forward to snuggling up in this quilt when it is finished and when I do it will feel like I am being hugged by many many very wonderful and special friends! 
 
Thank you to all of you - you know who you all are!


Friday 26 September 2014

The Hoot has a home!

I received word that the little Hoot has reached his new home (see previous post) and I am happy to see that he coordinates with his new surroundings perfectly!


Thursday 25 September 2014

I gave a hoot!

When someone does something super wonderful for you, do you give a hoot? (To "give a hoot" is an idiom which means "to care about") Well, I do, and in this particular case, to say "thank you", I decided that I would give a Hoot!

It started with some eyes. I cut out two large blue circles & two smaller black circles from felt; and sewed them together with yellow embroidery floss using a blanket stitch.


And a Hoot's not a Hoot if it doesn't have footsies & flappers, so I cut those out of yellow felt & I blanket stitched around the edges with blue embroidery floss.


After I had attached the eyes, beak, flappers & footsies to the Hoot's body, I then machine sewed all the bits together leaving a small opening to stuff it.


This is my stuffing of choice - "Hobby Fill" from Spotlight. 


Please excuse the X-rated shot, but a Hoot's gotta get stuffed, and this was where his stuffing hole was...


And when my Hoot was stuffed I then sewed close his stuffing hole (the Hoot was gently anaesthetized first).

So there we have it, my finished Hoot:


Why don't you show someone special that you give a hoot by giving them a Hoot too!

This little Hoot is on his way to his new home. And no, I'm not going to spoil the surprise by telling you where he's going. Not yet anyway...


Would you like to make your own Hoot? 

Thursday 18 September 2014

Never give up!

 
A friend posted this on Instagram last night and I couldn't not share it with you.
 
Never let your disability hold you back from doing what you want to do! 

 
We love you Leonard!!!

Pattern Testing


I recently answered a call for help from the lovely Juliet at The Tartan Kiwi who needed some pattern testers to help test some of her new patterns.  Well you know how much I enjoy paper piecing so of course I put my hand up.
 
Juliet had recently released her "Big Bear" pattern and had designed some "Bear Paws" to accompany it as a border component.  The design features two paws, an angled one and a straight one. 


I went through my fabric stash and dug out a lion print and a cat print that I had been hoarding.  My idea was to maybe one day make a rather schmancy cushion for my gorgeous cat Gemma.  I found some coordinating solids and set to work making a test block.
 
 
Here is my finished Angled Paw Block

 
Here is my finished Straight Paw Block.


I found the pattern very easy to make.  As it is only 6.5" it uses many smaller pieces & I was able to make good use of most of my offcuts so I had very little fabric waste.
 

Now to decide which fabric I will pair them up with...

Monday 15 September 2014

Winner - Fiona's 500 Giveaway


Drumroll..... 

The winner of my 500 Instagram followers giveaway is...


Entry number #31 which belongs to @aprilscreationsnc

Congratulations April!!! April is in my #QuiltySistersInstabee.

April your parcel has been loaded onto a flying kangaroo and should be with you within the next few weeks.
 
Thank you everyone for your entries and all the lovely messages.

Update: April has received her parcel.


Very Cherry Swap


Back in July a friend alerted me that there was a swap starting up on Instagram called the #VeryCherrySwap  Naturally I was in.  I sent off my enquiry, filled in the questionnaire, and waited anxiously to see if I would be accepted.  After a few nervous days of waiting I received my acceptance notice and not long afterwards I was introduced to my Cherry Swap Partner - the lovely Kath. 
 
As it turned out Kath and I were already following each other on Instagram but we really didn't know all that much about each other.  Thus began a good friendship as we started stalking & researching each other and planned and plotted our cherry projects with assistance from the Secret Squirrel. Many sneaky peek photos were shared on Instagram as we taunted & teased each other along the way revealing hardly anything but the odd snippet of fabric or of squirrels eating cherries.  Many laughs were shared, many stitches have been sewn, and the secret squirrel has been well fattened by eating way too many cherries. 
 
I knew that Kath loves blue. I knew NOT to use any purple or batiks.  I knew that among her favourite designers is Bonnie & Camille (the others I either didn't have any of their fabrics or I didn't know of them).  And I knew that the types of items that she would be happy to receive are: "mini quilt, mug rug, cushion cover, sewing pouch or bag, pincushion, needle book". 
 
Over the next 2-months I browsed gift shops, supermarkets and of course eBay, searching for cherry related items to go in her parcel.  Now that our shipping deadline has passed and I know that Kath has safely received her parcel, I can finally show you items that I made for her.  I will do a separate post showing what I received from Kath.
 
Mini Quilt
 
I experimented with a few designs for a mini quilt.  I was quite fond of a free pattern by Podunk Pretties that I found online which used many HSTs to form the cherries; however the blocks measured 12.5" each and I wanted to use 5 cherry blocks.  When I reduced the size of the blocks they looked too warped.  I then tried to paper piece cherries but they looked too wrong for perfectionist me.  Eventually I decided to hand stitch the cherry panels with embroidery thread.  I used some "April Showers" and "Miss Kate" fabric by Bonnie & Camille for the spacer blocks.  Although I felt much happier with this approach the mini didn't quite have enough oomph (it's important that my quilts have the oomph factor!) so I decided to applique the centre cherry block. From memory the mini quilt measured about 18" square.
 
Sewing on the quilt label
 
Sewing Pouch or Bag
 
I'm still pretty inexperienced to sewing with zips, but I was determined to make something "zippy" for Kath which fitted this brief.  I contemplated making a "Sew Together Bag" for her but thought it might be a bit advanced for me with all of those zips, so instead I made a small & a large Open Wide Zippered Pouch (pattern by Noodlehead). 
 
The smaller bag is made & lined with "Avant Garden by MoMo by Moda" and the larger bag is lined with "Rose & Hubble English Collection by David Textiles Inc.".


Mug Rug


I still had an embroidered cherry panel left over from the mini quilt so I decided to turn it into a mug rug. 
 
Lately I have been sewing hexis at night (for another project), so I set about designing something combining these elements. 
Close up of the quilting.
 
I was determined to  use more blue so I pulled out my "Miss Kate" by Bonnie & Camille and found some yummy coordinates amongst my scrap container.  Both the red solid and the blue solid (used for the binding) are from "Miss Kate".
 
The good thing about making 1" hexis is that you only need scraps measuring 2.5" square.  Yes I keep almost all of my scraps, you never know what you can do with them!
 
I finished it off by hand quilting in blue thread (I  used white thread on the cherry panel), sewing about 1/4" inside and outside of all of the seams.  I used more of the "Rose and Hubble" cherry fabric on the back.


Extra Cherry Goodness
 
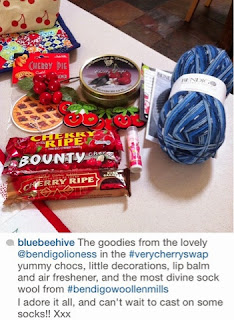
Here are photos of some of the extra cherry goodies which I included in Kath's parcel:
 
Air Freshener, Lip Gloss & Crafty Cherries
 
a limited edition Dark Chocolate Ganache Cherry Ripe, a Cherry Bounty, a Cherry Ripe & a tin of Cambridge & Thames Cherry Drops

Not cherry related but some variegated blue sock wool from the Bendigo Woollen Mills as Kath likes to knit

The Cherry Fabrics

 
Here is a close up of the two cherry fabrics that I used.


On the left is "Rose & Hubble English Collection by David Textiles Inc." & on the right is "Avant Garden by MoMo by Moda"


The Results: Kath received her parcel today.  Here is her feedback: